Tuesday, October 4, 2011

Maya tutorial 2

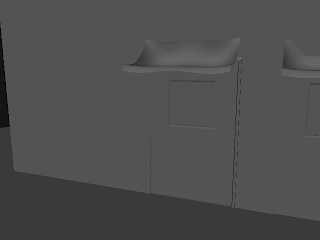
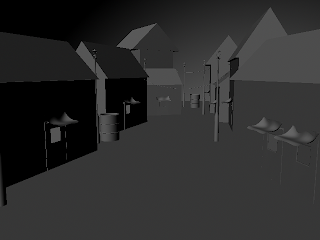
This is an update of the alley, with more doors, new light posts, and more accurate awnings (they intersected the doors).

In order to edit the light post, I used the Insert Edge Loop tool, deleting the excess faces in the head, and creating NURBS spheres to function as the lightbulb (which I think worked out really well) and the bauble at the top. 


 The barrel was the hardest to work out, as it needed to be created at the origin in order to be revolved correctly.
Another image of the doors, and better awnings.

Thursday, September 22, 2011

Maya tutorial

This is a wide shot of the whole alley.
This is a less wide shot of the alley scene.

This is a close shot of the alley scene, only with a different perspective and a lamp.

Wednesday, September 14, 2011

Monday, September 12, 2011

Spooky House

In order to create the image above, I used several Adjustment Layers, including the final Levels layer to finalize the creepy look, brightening the light areas while darkening the shadowy areas.  The lightning bolt was created using a brush tool, although it could have used some differences in thickness to look more realistic.  The clone tool portion that involved the missing windows was the hardest part;  I still hate how that window and roof looks.

Sources images:


Thursday, September 1, 2011

Pinning Locations


This image was made using various Adjustment layers, moving the settings to create the appropriate feel, along with tools such as the Burn and Dodge tools to adjust the shadings on the tack.  The selections for this tack proved to be a nuisance with excess white pixels surrounding the image, along with the color changes via a Hue Adjustment layer due to the green sky that surrounded the originally green tack.  The shading on the tack from the Burn and Dodge tools had more of a subtle effect than anything else.